How A Gourdhouse is Born
To create my gourdhouses, I take the following steps:
I start with gourds that have been grown from seed to fruit over a six month period, and dried for an additional six months. I soak the gourds and then scrub them to remove mold.
Once dry, I drill holes for drainage and wire hanging. The entrance hole is created with a hole saw bit - I use a 1 and 1/4 inch bit. There are birdhouse gourd hole size charts online that are useful, particularly if you are trying to attract certain species. Generally, between 1 inch and 1 1/2 inch will work for most cavity nesters.
Then, I prime with exterior Kilz primer. Next, I use 2 to 3 coats of house paint for the base color.
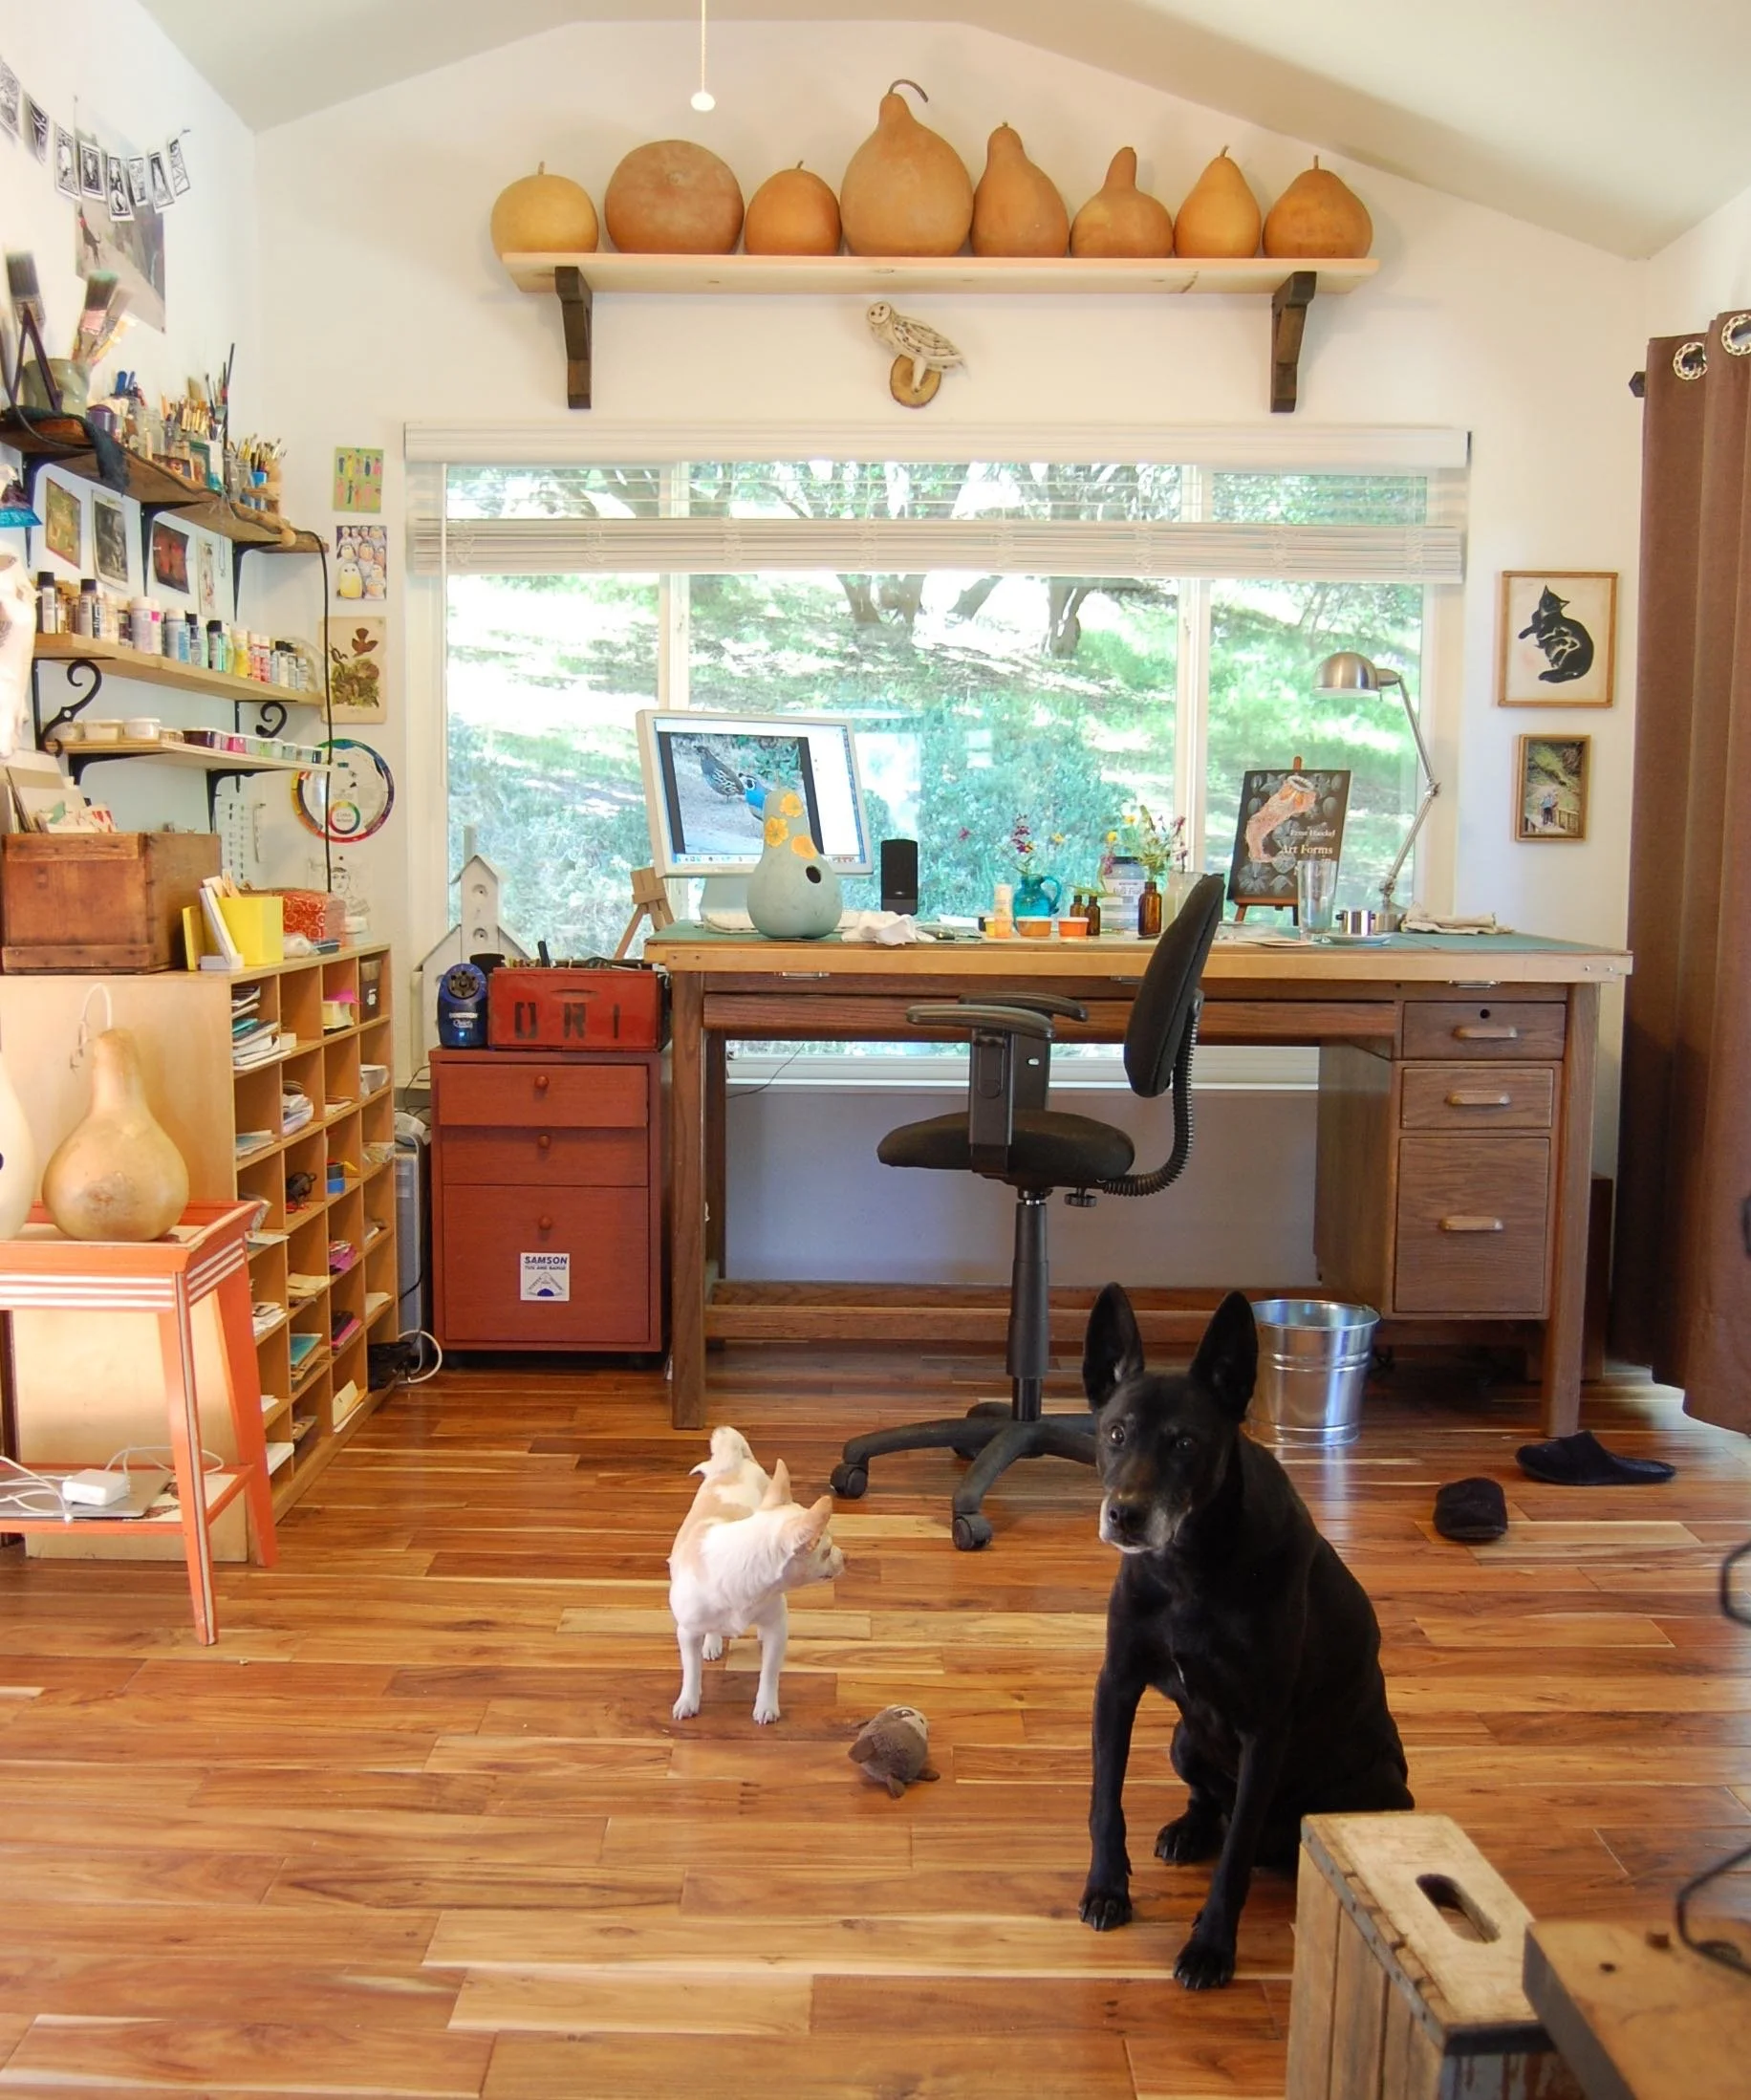
I created a color chart and corresponding small containers of house paint, all numbered. I use tiny wooden sticks to stir the paint. The numbered containers and color chart really helps my process! I draw the designs freehand but use photographs for reference. Some of my designs involve research, which I love! I learn about species from particular regions, and plants that provide nourishment for the birds (or other pollinators) I have chosen.
Once the design is complete, I seal the exterior with 3 coats of Helmsman Spar Urethane. When shipping, I allow for at least three days for the urethane to cure before mailing.
I include a note with my gourds, instructing people on maintenance if they intend to use their gourds for birdhouses. This includes cleaning out nests between nesting seasons, and resealing the exterior with urethane once per year to prolong the life of the gourd.


